
Roblox Studio for Beginners: Learn Scripting by Making Your First Game Mechanic
A beginner-friendly Roblox Studio guide for learning Luau scripting, making a first coin pickup, testing safely and building better game ideas.
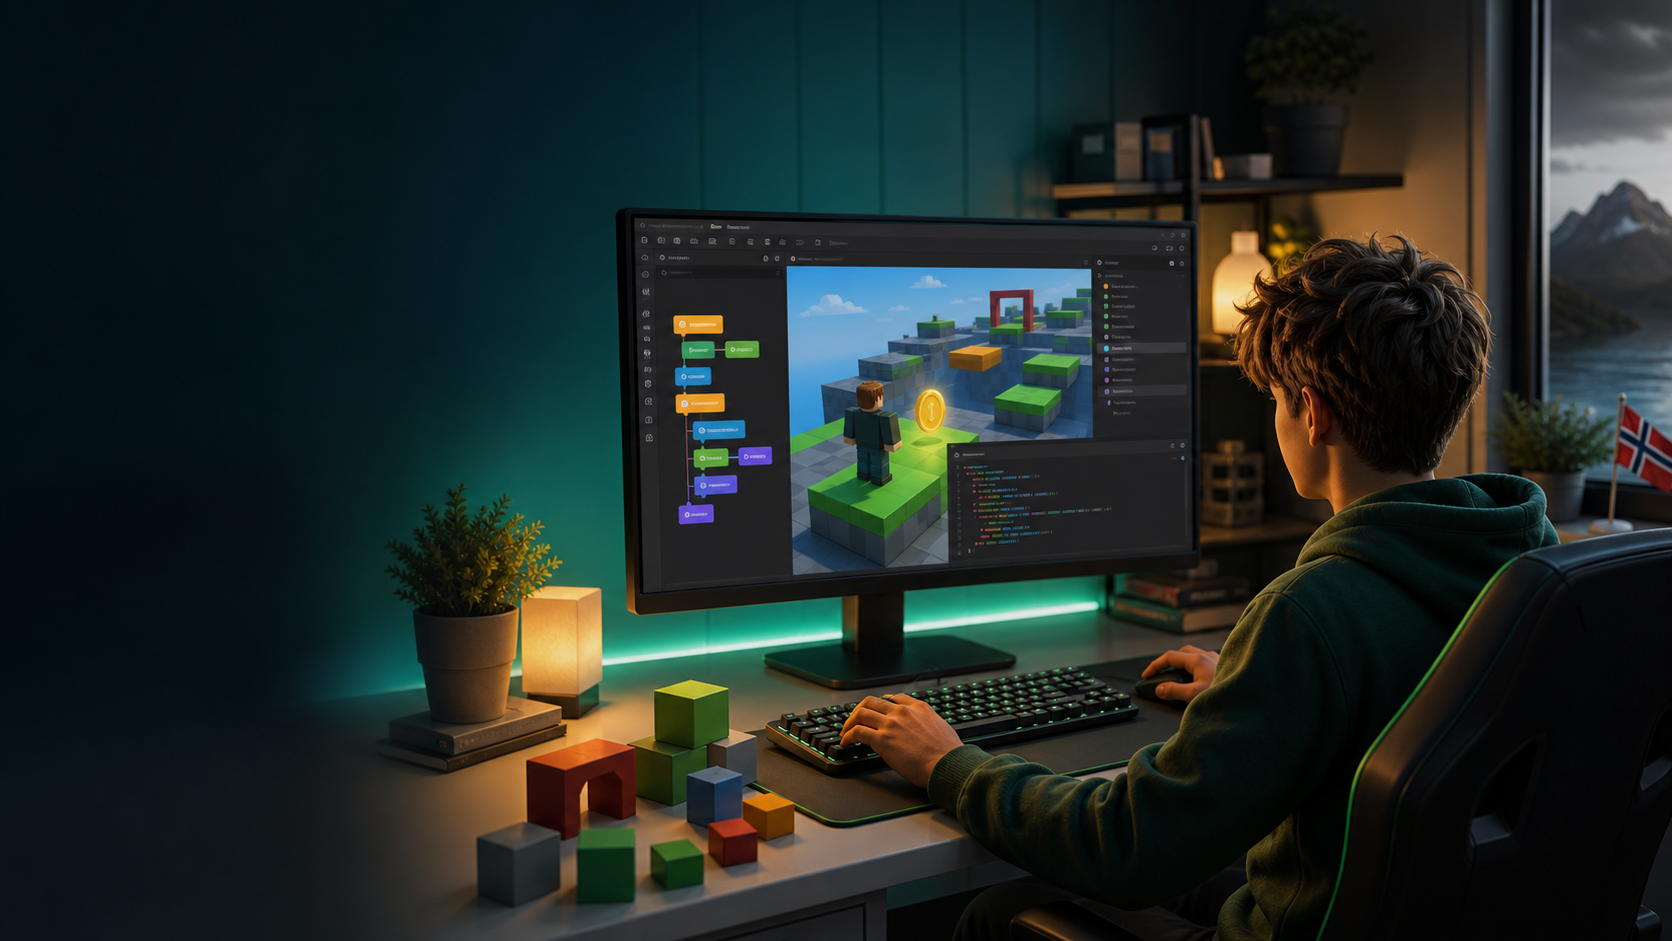
Install Roblox Studio, open a simple template, learn Explorer and Properties, then write one tiny Luau script at a time. Start with a coin pickup, obby checkpoint, door button or simple shop prompt before copying bigger systems.
I chose the topic, scope and source list, and I am responsible for publishing corrections. Automation and AI can help with research sorting, first-draft structure and repetitive formatting. Facts, prices and claims must still trace back to the sources shown on the page. This is not labelled as a hands-on product review.
It teaches parts, touch events, players and testing without needing a full game.
A perfect next step because it connects scripting to a game loop people understand.
Roblox uses Luau, a scripting language based on Lua and built for Roblox experiences.
Learn what code does before adding free models or scripts to a real project.
Why Roblox belongs on a gaming PC site
Roblox is not only a game people install. It is also a creator platform, which makes it a strong topic for readers who want to move from playing to building. That is a different kind of upgrade: not just more FPS, but more control.
For this site, Roblox content can connect three audiences naturally: players who want a clean PC setup, parents buying a first gaming PC, and beginners who want to learn programming through a game they already understand.
The Roblox Studio map
Start by learning the names of the panels before chasing big tutorials. Most beginner confusion comes from not knowing where objects live or where scripts should go.
| Studio area | ||
|---|---|---|
| Explorer | Shows every object in the game | Rename parts clearly so scripts are easier to read. |
| Properties | Changes the selected object's settings | Use it to change size, color, anchoring and behavior. |
| Workspace | Where visible 3D objects usually live | Put beginner parts here while learning. |
| ServerScriptService | A safe place for server-side scripts | Use it later for systems players should not control locally. |
| Play button | Runs a test version of the experience | Test after every small change, not after an hour of edits. |
Your first tiny script
Create a Part, name it Coin, anchor it, then insert a Script inside the Coin. This example removes the coin when a player's character touches it. It is small on purpose: you can read every line before expanding it.
After it works, your next version can add points, sound, respawn timing or a simple UI. The trick is to upgrade one idea at a time.
local coin = script.Parent coin.Touched:Connect(function(hit) local character = hit.Parent local player = game.Players:GetPlayerFromCharacter(character) if player then coin:Destroy() end end)A beginner learning plan
Roblox scripting becomes much easier when each project teaches one new idea. Do not start by building a full simulator, tycoon or inventory system. Start with one mechanic that can be finished in an evening.
Use this plan like a tiny bootcamp. Open one day, build the mini mission, mark it done, then stop while the win still feels fresh. The goal is momentum, not a giant unfinished game folder.
Understand where objects live before writing code. A beginner who can find Workspace, a Part, and Properties is already less lost.
Create a small obby platform: one start block, three floating blocks, and one glowing coin placeholder.
When you press Play, your character can stand on every block and nothing falls through the map.
Rename every object like a real project: StartPlatform, JumpBlock01, JumpBlock02, CoinPart.
Make code visibly affect the world. This is the moment scripting stops feeling abstract.
Insert a Script inside a part and make that part turn green when the game starts.
The Output window prints your message and the part changes color when you press Play.
Change the RGB numbers and make three different parts turn different colors.
Learn events. In Roblox, a lot of game logic starts with something happening: a touch, click, timer, or player joining.
Turn your CoinPart into a pickup that disappears when a player touches it.
When your character touches the coin, it disappears. If a loose block touches it, nothing should happen.
Add a second coin with the same script and test whether both work.
Give the player a visible number to improve. This teaches player data shape without pretending you are ready for full saving yet.
Create a Coins stat that appears on the player list when someone joins the game.
When you press Play, the top-right player list shows Coins with a value of 0.
Change the coin pickup from Day 3 so touching a coin adds 1 before the coin disappears.
Connect scripting to level design. Checkpoints make a rough platform path feel like an actual game loop.
Create a SpawnLocation checkpoint halfway through your obby and make it become the player's respawn point when touched.
After touching the checkpoint and resetting, your character respawns there instead of at the start.
Make the checkpoint change color after a player activates it.
Learn object references. This is where scripts start controlling other parts of the world.
Create a red button and a door. When the player touches the button, the door opens for three seconds.
The door becomes transparent and non-solid for three seconds, then closes again.
Add a debounce so the door does not restart the timer every tiny touch.
Turn tutorial memory into actual skill. The win is not perfect code; the win is knowing what to try next when something breaks.
Pick one mechanic from the week and rebuild it in a fresh file without copying the tutorial first.
You can explain what each line is supposed to do, even if you still need docs for exact spelling.
Write a short bug journal: what broke, what error appeared, and what fixed it.
print("My first Roblox script is running") local part = script.Parent part.Color = Color3.fromRGB(0, 255, 128)Move parts and learn Explorer
Mini mission
Success check
Small upgrade
- Open Roblox Studio and choose a simple Baseplate.
Print and change a part with code
Mini mission
Success check
Small upgrade
- Select a Part in Explorer.
print("My first Roblox script is running") local part = script.Parent part.Color = Color3.fromRGB(0, 255, 128)Make a coin disappear when touched
Mini mission
Success check
Small upgrade
- Name the coin part CoinPart.
local coin = script.Parent coin.Touched:Connect(function(hit) local character = hit.Parent local player = game.Players:GetPlayerFromCharacter(character) if player then coin:Destroy() end end)Add a leaderstats points value
Mini mission
Success check
Small upgrade
- Insert a Script into ServerScriptService.
game.Players.PlayerAdded:Connect(function(player) local leaderstats = Instance.new("Folder") leaderstats.Name = "leaderstats" leaderstats.Parent = player local coins = Instance.new("IntValue") coins.Name = "Coins" coins.Value = 0 coins.Parent = leaderstats end)Build an obby checkpoint
Mini mission
Success check
Small upgrade
- Insert a SpawnLocation and name it Checkpoint01.
local checkpoint = script.Parent checkpoint.Touched:Connect(function(hit) local character = hit.Parent local humanoid = character:FindFirstChild("Humanoid") local player = game.Players:GetPlayerFromCharacter(character) if humanoid and player then player.RespawnLocation = checkpoint checkpoint.Color = Color3.fromRGB(0, 255, 128) end end)Make a button open a door
Mini mission
Success check
Small upgrade
- Create a Part named Door in Workspace.
local button = script.Parent local door = workspace:WaitForChild("Door") local busy = false button.Touched:Connect(function(hit) if busy then return end if not hit.Parent:FindFirstChild("Humanoid") then return end busy = true door.CanCollide = false door.Transparency = 0.6 task.wait(3) door.CanCollide = true door.Transparency = 0 busy = false end)Rebuild without watching
Mini mission
Success check
Small upgrade
- Create a new Baseplate.
What to build after the first script
| Project | ||
|---|---|---|
| Obby checkpoint | Spawn points, touched events, state | Easy to test and instantly game-like. |
| Door button | References between objects | Teaches how one part can control another part. |
| Speed pad | Character properties | Fun, visible and simple to debug. |
| Basic shop prompt | User interaction and economy thinking | A bridge into simulator-style games. |
| Round timer | Loops and game flow | Good first step toward multiplayer game structure. |
PC setup tips for Roblox creators
You do not need an expensive gaming PC to learn Roblox Studio. A comfortable beginner setup is more about a smooth Windows install, SSD storage, enough RAM and a monitor that gives room for Studio panels.
For a family PC or first creator setup, 16 GB RAM, an SSD and a decent 1080p or 1440p monitor are usually more useful than overspending on RGB. A second monitor is nice later, but not required.
- Use an SSD so Studio, browser tabs and updates feel less sluggish.
Authentic creator habits
The best beginner habit is to write down what each script is supposed to do before changing it. That sounds slow, but it makes debugging much less mysterious.
Be careful with free models and random scripts. Some are fine, some are messy, and some teach bad habits. If you cannot explain what a script does, keep it out of important projects until you can.
Gaming guide scope
This guide is written for players everywhere. Norway-specific retailer, warranty and price comparison advice belongs in the hardware buying guides, not in game tutorials.
FAQ
Is Roblox scripting the same as Lua?
Roblox uses Luau, a language based on Lua and adapted for Roblox experiences. Learning Luau teaches real programming ideas such as variables, functions, events and tables.
Can a beginner learn programming with Roblox?
Yes. Roblox Studio is a good beginner path because code changes visible game objects quickly. The key is to build tiny mechanics before attempting a full game.
Do you need a gaming PC for Roblox Studio?
No, but a smooth Windows PC with an SSD, 16 GB RAM and a comfortable monitor makes learning much nicer, especially when Studio, browser tabs and Roblox are open together.
What should I make first in Roblox Studio?
Make a coin pickup, obby checkpoint, simple door button or speed pad. These teach useful basics without becoming overwhelming.
Sources and methodology
I use official game documentation and patch notes first, then clearly identified community tools when they add something useful. This is source-backed guidance, not a claim that I personally tested every weapon, map or patch.